The sun hadn’t even come up over my brother-in-law’s backyard when I felt it. A sharp, tiny wiggle right against my cheek. I was three hours away from being the best man at a wedding, and one of my orthodontic brackets had decided it no longer wanted to be part of the team. My heart sank. I looked in the mirror and did exactly what you shouldn’t do: I panicked. I grabbed a pair of tweezers from the bathroom counter, thinking I could just ‘snap’ it back. Spoiler alert: I couldn’t. In fact, I nearly caused more damage than the loose bracket itself. If you’re reading this because your own big day is looming—or maybe you’re already in the bridal suite—take a deep breath. You aren’t going to look like a castaway in your photos. I’ve been through the trenches of cosmetic dentistry and orthodontic mishaps, and I’ve learned that a loose bracket is a hurdle, not a finish line. Today, I’m going to walk you through the immediate steps to stabilize your smile, keep the pain away, and ensure you can actually enjoy the champagne.
Will a loose bracket actually ruin my wedding photos?
It’s the first thing that flashes through your mind, right? You imagine a silver piece of metal dangling mid-air while you say ‘I do.’ But here’s the reality: most loose brackets stay attached to the wire. They might slide around a bit, but they rarely just fall out of your mouth. According to the American Association of Orthodontists, most orthodontic issues are ‘nuisances’ rather than true emergencies, meaning they can usually be managed temporarily at home. The key is knowing how to fix a sharp wire poking your cheek at home so you aren’t grimacing in every candid shot.
Keep that bracket in place until the cake is cut
When my bracket failed, my first instinct was to reach for the toolbox. Whatever you do, please learn from my mistake and stay away from the adhesives in your junk drawer. There is a massive danger of using super glue to fix a broken crown or any dental appliance; the chemicals are toxic and can destroy your tooth enamel. Instead, reach for the orthodontic wax. It is your best friend. It acts like a little safety cushion, holding the bracket against the tooth so it doesn’t irritate your lip. If the bracket is sliding like a bead on a string, just use a clean pair of tweezers to gently slide it back to the center of the tooth before applying a pea-sized amount of wax. This is especially important if you’re trying to handle a dental emergency while traveling for a destination wedding where your regular doctor is a flight away. Have you ever had a dental disaster strike at the absolute worst moment? Tell me about your ‘braces horror story’ in the comments—I promise I’ve heard (and lived) worse! While we’re focused on the brackets today, remember that your overall look matters too. If you’re also worried about other minor imperfections, you might want to look into how to fix a tiny chip in your front tooth without a crown before the photographer arrives. But first, let’s get that hardware stabilized.
Slide the bracket back to the center
If your bracket is dancing across the wire, think of it like a bead on a necklace. It is still physically attached to the archwire, but it has lost its grip on the tooth. To fix this, use a clean cotton swab or a pair of sterilized tweezers to gently push the bracket back to its original position in the middle of the tooth. I once tried to use a wooden toothpick to wedge a bracket back into place while sweating in my tuxedo before my brother-in-law’s wedding. It was a disaster; the wood snapped, poked my gum, and I spent the next twenty minutes trying to stop the bleeding without staining my white shirt. I learned the hard way about the hidden dangers of using a toothpick to clean your gums or manipulate dental hardware. Once the bracket is centered, dry the area with a tissue. Wax will not stick to a wet surface, so this step is non-negotiable.
Create a wax shield that lasts through the reception
Take a small piece of orthodontic wax, about the size of a pea, and roll it between your fingers to warm it up. This makes it pliable. Flatten it over the loose bracket and the wire, pressing firmly so it molds around the edges. This creates a smooth surface that won’t snag on your lip when you smile for the camera. If you find the bracket is still irritating you, it might be because the wire itself has shifted. Knowing how to fix a sharp wire poking your cheek at home is the difference between enjoying the wedding cake and spending the night in the bathroom mirror. 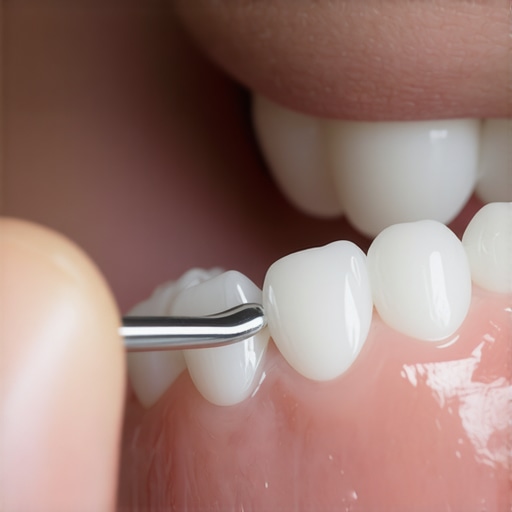
Manage the wire without making things worse
Sometimes the bracket isn’t just loose; it’s spinning. If the wire is poking out the back because the bracket moved, you might be tempted to cut it. Stop. Only use sterilized nail clippers as a last resort if the wire is truly causing a wound. Instead, try to tuck the wire back in using the eraser end of a pencil. It’s blunt and soft enough to move the wire without scratching your enamel. This kind of quick thinking is similar to how you would handle a cracked tooth that doesn’t actually hurt yet—the goal is to prevent further damage until you can reach a professional.
Plan your recovery once the party is over
While you can survive the weekend with wax and caution, you need to see a professional as soon as the honeymoon or the weekend ends. A loose bracket stops the movement of that specific tooth, which can add weeks to your treatment time. If the damage is more extensive than just a bracket—perhaps a tooth feels loose or you’ve damaged a previous restoration—you’ll need to have your family dentistry expert take a look. They can determine if you need more significant repairs, much like understanding dental crowns and when they are needed for structural integrity. Until you get to that appointment, stick to soft foods like mashed potatoes or risotto. Avoiding the ‘crunch’ at the reception will keep your temporary fix intact and your smile ready for every single photo.But let’s look past the wedding day and the reception cake. Most people think of their orthodontic brackets or porcelain veneers as purely aesthetic upgrades meant to dazzle in photos. In reality, modern cosmetic dentistry innovations are just as much about biomechanics as they are about a ‘Hollywood’ smile. When a bracket comes loose, you aren’t just losing a piece of jewelry; you are losing a point of leverage in a complex, calibrated system. The common belief is that cosmetic work is ‘optional’ or purely for vanity, but I’ve seen firsthand how these enhancements serve as the frontline for tooth preservation. For example, when choosing between dental crowns vs other restorations, the decision often hinges on protecting the root from fracture, not just the shape of the tooth. If you treat these devices as ‘set it and forget it’ decorations, you’re falling into a dangerous trap.
The hidden risk of ignoring marginal changes
One of the biggest ‘oops’ factors I see involves the way patients perceive their existing dental work. Many believe that once a crown or veneer is in place, it is invincible. However, a specific red flag people often ignore is a thin, shadowy line appearing at the base of a tooth. While most assume this is just natural aging or ‘staining,’ it often indicates marginal leakage or gum recession. According to a study published in the British Dental Journal, the marginal integrity of a restoration is the most critical predictor of long-term success, as even a microscopic gap can host bacteria that lead to secondary decay. If you notice why your gum line looks dark around an old crown, don’t wait for pain to manifest. That darkness is a signal that the seal is compromised. Ignoring these subtle shifts is like ignoring a loose bracket; it’s a small problem today that becomes a root canal tomorrow. 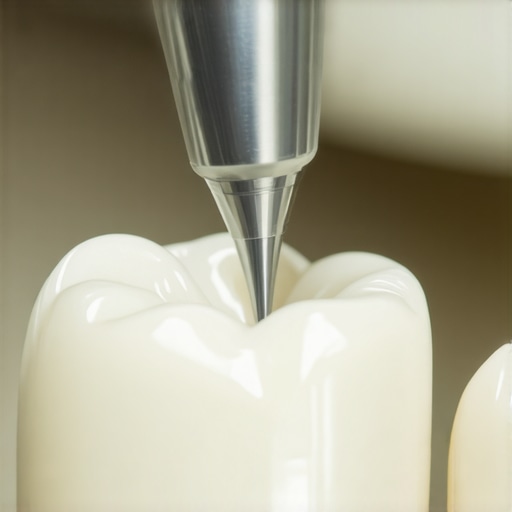
Can a single loose bracket permanently shift your bite?
It sounds dramatic, but the answer is a nuanced ‘yes’ if left untreated. Your archwire works on the principle of constant, gentle tension. When one bracket fails, that tooth is no longer under control, but the teeth on either side are still being pulled. This creates an imbalance in force distribution that can lead to ‘tipping’ or unwanted rotation. This is why expert cosmetic dentistry solutions focus so heavily on the occlusion—how your teeth meet—rather than just how they look. It’s also why DIY fixes are so dangerous; you might make the tooth look straight while inadvertently pushing the root into a position that interferes with your bite. We see a similar trend in teeth whitening; many people think the difference between professional whitening and over-the-counter strips is just the price tag, but the real nuance is the chemical concentration and the protection of the soft tissue. Using the wrong tools or ignoring ‘small’ hardware failures can lead to a cascade of structural issues. Have you ever fallen into the trap of thinking a dental fix was ‘just for looks’ only to realize later it was vital for your bite? Let me know in the comments—your experience might help someone else avoid a major ‘oops’ moment!Keeping your smile intact isn’t just about surviving a weekend disaster; it’s about the daily habits that ensure you never have to panic in a bathroom mirror again. I used to think a toothbrush and a bit of floss were enough, but after my wedding-day bracket debacle, I realized that high-end dental work requires high-end maintenance. If you’ve invested in your look, you need to treat your mouth like a fine-tuned engine. For me, that meant finally upgrading to a high-powered water flosser. While manual flossing is great for some, a water flosser is non-negotiable for anyone with brackets or dental crowns. It reaches the microscopic debris that gets trapped under the gumline where traditional floss simply shreds. It is the single most important tool in my kit for revamping your smile and keeping it that way.
Ditch the rinse and let the fluoride work
One of the biggest mistakes I see people make—and I was guilty of this for years—is rinsing with water immediately after brushing. You’re essentially washing away the very medicine your teeth need to stay strong. To get the most out of your routine, you should stop rinsing your mouth immediately after you finish brushing. Let that thin layer of toothpaste sit on your enamel for at least thirty minutes. This is especially vital if you have temporary hardware or a dental crown designed for damaged teeth, as the margin where the crown meets the natural tooth is the most vulnerable to decay. Since I started doing this, the sensitivity I used to feel during the winter months has almost entirely vanished.
How can I make my cosmetic dental work last for a decade or more?
The secret to longevity is consistency and the right specialized equipment. Beyond the water flosser, I swear by interproximal brushes. These tiny, mascara-wand-looking tools are perfect for cleaning the gaps that even a Waterpik might miss. I’ve found that using them once a day has significantly reduced the ‘spongy’ feeling my gums used to have. If you’re a parent, starting these habits early is key; caring for your child’s teeth with the right tools sets the foundation for a lifetime of health. We also have to look at the materials. According to clinical reports in the Journal of Prosthetic Dentistry, modern monolithic zirconia used in many crowns has a significantly higher fracture toughness compared to older porcelain-fused-to-metal versions, but only if the patient avoids abrasive DIY cleaning methods. 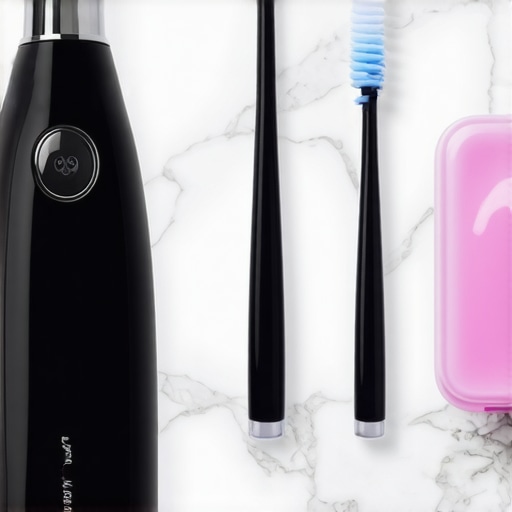
What the future of your smile looks like
Looking ahead, I predict we are moving toward a world where ‘smart’ dental appliances are the norm. We’re already seeing innovations like AI-integrated toothbrushes that map your mouth in real-time to ensure 100% coverage. In the next few years, I expect the role of family dentistry to shift toward more proactive, tech-heavy monitoring, where your dentist can receive data from your home devices before you even feel a twinge of pain. This is the ultimate goal of expert cosmetic dentistry solutions: preventing the emergency rather than just reacting to it. If you want to stay ahead of the curve, I highly recommend investing in a nightly mouthguard. Even if you don’t think you grind your teeth, the stress of modern life often manifests as nocturnal bruxism, which is the leading cause of cracked crowns and shifted orthodontic work. Trust me, it’s much cheaper to buy a guard now than to stop your teeth from shifting later. Start tonight by skipping that post-brush rinse—it’s the easiest, free upgrade your smile will ever get.
What I Learned While Panicking in a Tuxedo
Looking back at that morning in the mirror, I realized the biggest threat wasn’t the metal bracket—it was my own anxiety. If you are currently staring at a loose wire, remember these few lightbulb moments I had while trying to stabilize my smile before the ceremony. First, your photographer is a magician. Even if the orthodontic wax feels bulky, it rarely shows up in those wide-angle shots or candid reception photos, so don’t let a millimeter of metal steal your joy. Second, a loose bracket is merely a delay, not a total defeat. It pauses your tooth’s movement, but it won’t undo months of hard work in a single afternoon. Most importantly, I learned that DIY is always more expensive in the long run. Every time I tried to help the situation with household tools, I risked a much larger bill for dental crowns vs other restorations that could have been completely avoided with a little patience and a pea-sized amount of wax.
The Tools I Use to Avoid Another Braces Meltdown
I don’t leave my oral health to chance anymore. After researching the latest ways of revamp-your-smile-top-cosmetic-dentistry-trends-for-2025, I upgraded my daily routine to prevent these hardware failures from happening in the first place. Here is what stays in my kit. I swear by a high-powered water flosser; it is the only way to ensure microscopic debris doesn’t get stuck behind a wire and cause the inflammation that makes a loose bracket even more painful. I also swapped cheap wax for medical-grade silicone, which stays in place much better when you are eating or talking. Finally, I never travel without interproximal brushes. These tiny tools are far safer than toothpicks for clearing food without dislodging your archwire. For those with little ones, these habits are just as important as child-friendly dental care to ensure their orthodontic journey starts on the right foot.
Go Ahead and Show Off That Smile
A loose bracket is just a tiny blip in your long-term journey toward the results promised by cosmetic dentistry innovations. Do not spend your big day hiding your face or avoiding the camera. Follow the steps to stabilize the metal, apply your wax shield, and get back to the celebration. Your smile is resilient, and your confidence should be too. If you find yourself in a situation that wax just can’t fix, do not hesitate to contact us to find a professional who can get your treatment back on track immediately. Have you ever had a dental emergency strike during a vacation or a wedding? Tell me your survival story in the comments below!