I remember the first time it happened to me. It was a Friday night, 8 PM, and I had just sat down with a bowl of popcorn—I know, I know, my orthodontist specifically said no popcorn. I heard a distinct snap. Suddenly, there was a little metal square dancing on the wire, poking the inside of my cheek like a tiny, angry needle. I panicked. My first instinct was to grab a pair of pliers from the garage, which, looking back, was a terrible idea. If you are sitting there right now with a rogue piece of metal scratching your gums, take a deep breath. I have been in your shoes, and I promise you can handle this without a frantic midnight call to the emergency clinic. Today, we are going to walk through exactly how to secure that loose piece using simple things you probably already have in your medicine cabinet.
Don’t Reach for the Superglue Just Yet
Seriously, do not do it. Early on in my journey, I actually thought about using some heavy-duty adhesive I found in the kitchen drawer. Luckily, my common sense kicked in. You see, family dentistry experts will tell you that DIY permanent fixes can actually damage your enamel or lead to a much more expensive trip for expert cosmetic dentistry solutions later on. The goal here isn’t to re-attach the bracket—that is the doctor’s job—but to stop the poking and prevent the bracket from sliding around and causing more damage. Have you ever felt that sharp poke and realized your bracket was MIA? If so, you are definitely not alone.
Is it safe to touch these things yourself?
You are probably worried that if you touch the wire, the whole system will collapse like a house of cards. It won’t. But you need to be gentle. If the bracket is still on the wire, your biggest enemy is friction and irritation. Most people do not realize that orthodontics is a marathon, not a sprint. According to the American Association of Orthodontists, roughly 10% of patients will experience a minor hardware failure like a loose bracket or a poking wire at some point during their treatment. When I first started, I made the mistake of trying to ‘clip’ a wire with regular fingernail clippers, which just ended up bending the whole archwire out of shape. Don’t do that. Instead, we want to focus on how to deal with a loose bracket on your braces over the weekend by using soft barriers and minor adjustments. We are going to get you comfortable enough to enjoy your dinner without feeling like you are chewing on a fishhook.
Grab a Mirror and Your Phone’s Flashlight
The first thing you need to do is get a clear view of the situation. You cannot fix what you cannot see, and bathroom lighting is notoriously deceptive. I learned this the hard way when I tried to feel my way around a loose wire and ended up snagging my gum. Sit down in front of a mirror, prop your phone up with the flashlight on, and identify exactly which bracket has failed. Is it completely detached and sliding on the wire, or is it still partially clinging to the tooth? Knowing this helps you determine if you need to simply cover it or reposition it. If the bracket has rotated, it will feel twice as sharp. I once used a sterilized pair of tweezers to gently flip a bracket back to its flat side, and the instant drop in pain felt like magic. Just like when you were first learning how to survive the first week of wearing traditional metal braces, the key here is identifying the source of the friction before it creates a sore.
Slide the Bracket Back to Safety
If the bracket is still on the wire but sliding back and forth, it acts like a little saw against your cheek. Use a clean cotton swab to gently nudge the bracket along the archwire until it is centered on the tooth again. This doesn’t re-attach it to the enamel, but it keeps the hardware in a predictable spot. If you have a child going through this, explaining the process can be part of caring for your child’s teeth essential family dentistry tips that build their confidence in handling minor issues. I remember helping my younger brother with this; he was terrified the wire would pop out, but once we moved the bracket away from his sensitive molar area, he was back to playing video games in minutes.
Drying the Metal is Your Top Priority
Orthodontic wax will not stick to a wet surface. This is the golden rule that everyone ignores. If you try to put wax on a bracket covered in saliva, it will slide off the moment you take a sip of water or even just speak. Take a clean paper towel or a piece of gauze and dry the bracket and the surrounding wire thoroughly. Keep your cheek pulled away with one hand while you dry with the other. This ensures the wax creates a true seal. 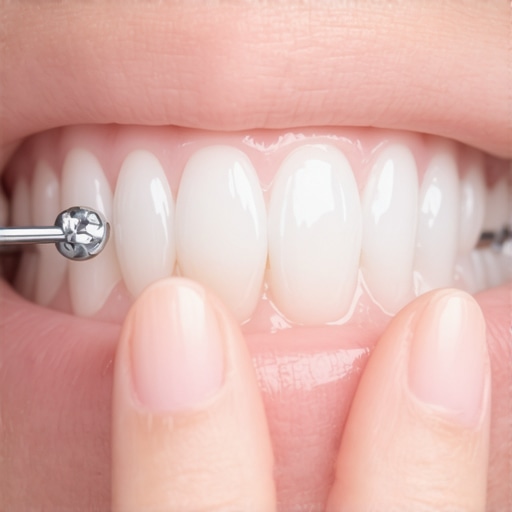
Pack on the Protective Barrier
Take a pea-sized amount of orthodontic wax and roll it between your fingers until it is warm and pliable. Press it firmly over the loose bracket, molding it so it covers any sharp edges of the wire as well. You want to create a smooth ‘bump’ that your lip can glide over. If you ran out of wax, a small piece of sugar-free gum can work in a pinch, though it isn’t ideal for long-term use. While you wait for your appointment, stick to soft foods like yogurt or applesauce, which are among the best snacks for kids that don’t lead to instant cavities and won’t dislodge your temporary wax fix. Mastering how to deal with a loose bracket on your braces over the weekend really comes down to this specific wax application. If the wax stays put, the inflammation will go down, and you will forget the bracket was even loose until Monday morning.People often assume that as soon as a bracket comes loose, their teeth start rebounding to their old positions. I used to think my smile was melting back into its crooked self within minutes of a failure. But here is the contrarian truth: your teeth are not that fast. In fact, experts often point out that significant relapse does not happen in a matter of hours or even a few days. The real danger is not the tooth moving back; it is the adjacent teeth being pulled in weird directions because the tension on the archwire is now unbalanced. This is why the role of family dentistry in ensuring oral health for all ages is so vital; it is about managing the whole mouth, not just one loose piece of metal.
Why Your Tooth Is Not Actually Moving Backwards
Most patients think the bracket provides the force. It does not. The archwire provides the force, and the bracket is just the handle. When the handle breaks, that specific tooth stops receiving the signal to move, but the rest of the teeth are still under tension. According to the American Journal of Orthodontics and Dentofacial Orthopedics, localized interruptions in force rarely derail a long-term treatment plan if addressed within a reasonable timeframe. However, the trap most people fall into is over-manipulating the wire. If you bend that archwire even a millimeter, you are not just fixing the poke; you are potentially telling your teeth to move into a completely wrong position. This is a common mistake when parents are trying to provide child-friendly dental care at home without the right tools. 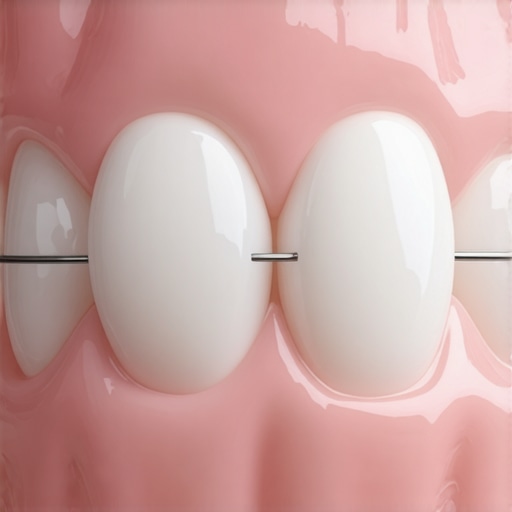
Can a loose bracket damage your existing dental work?
This is a question I get from readers who have more than just natural teeth in their mouths. If you are comparing a dental crown vs other restorations, a loose bracket can be slightly more precarious. Porcelain surfaces require a different bonding agent than natural enamel. If a bracket fails on a crown, it often leaves the surface feeling gritty or rough. Do not try to polish this yourself. You could accidentally compromise the integrity of the restoration, leading to a situation where your crown is leaking and trapping bacteria. The nuance here is that while a natural tooth is fairly resilient to a bracket pop, a crown or a veneer requires a much more delicate touch from a professional specializing in expert cosmetic dentistry solutions.
Stop Trying to Play Orthodontist with Your Leatherman
I have seen it all—people using wire cutters from the garage or even superglue. Here is the big ‘Oops’ factor: superglue is toxic and incredibly difficult for a dentist to remove without damaging your tooth. Furthermore, garage tools are not sterile and can introduce bacteria into small micro-cuts in your gums. If the wire is truly unbearable and wax is not helping, the only safe tool is a pair of sterilized nail clippers, and even then, only as a last resort. If you have a complicated restoration, like a dental implant crown that feels like it is spinning, stay away from it entirely and call the office. Have you ever fallen into the trap of trying a MacGyver fix on your braces? Let me know in the comments below, because I would love to hear what happened!
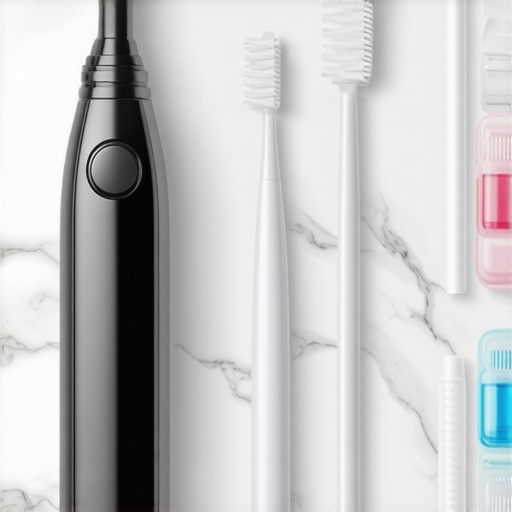
Once you’ve successfully calmed the chaos with a bit of wax, it is time to think about the long-term game. I’ve spent way too much time hunting for the right tools in the aisles of various pharmacies to tell you that not all gear is created equal. If you want to keep your treatment on track, you need to transition from ’emergency mode’ to ‘maintenance mode.’ I personally swear by the GUM Proxabrush. Unlike generic interdental brushes that bend the second they hit a wire, these have a reinforced neck that lets you get right under the archwire to clear out debris that might be putting pressure on your other brackets. This is a core part of family dentistry—teaching the next generation that the right tool makes the job five times faster.
Build a Survival Kit That Actually Works
I keep a small ’emergency pouch’ in my car and my desk at work. Inside, I don’t just have wax; I have GUM Soft-Picks and a travel-sized mirror. The reason I use Soft-Picks specifically is that they are rubberized, meaning they won’t scratch your dental crowns or restorations if you happen to have them. If you’re dealing with more complex work, like expert cosmetic dentistry solutions, you know that keeping the area around the gumline clean is the only way to prevent inflammation that could loosen even more hardware. I’ve found that being proactive with these tools prevents that ‘fuzzy’ feeling teeth get by mid-afternoon.
Why You Need to Ditch String Floss Immediately
If you are still trying to thread traditional string floss through your braces, you are a saint, but you’re also wasting your time. I switched to a high-pressure water flosser three years ago and never looked back. It is the only way to ensure you aren’t leaving behind bacteria that can lead to your crown leaking and trapping bacteria later on. However, there is a learning curve. You should definitely check out tips on how to stop your gums from hurting when you use a water flosser because if the pressure is too high, you’ll end up with more soreness than the loose bracket caused in the first place.
How can I keep my results perfect for the next decade?
The secret to long-term success isn’t just the braces; it is what happens the day they come off. Dr. Greg Huang, a renowned researcher at the University of Washington, has published extensively on orthodontic stability, noting that without proper retention, teeth have a natural physiological tendency to return to their original positions. This is why mastering the best way to brush around a permanent retainer is non-negotiable. I predict that in the next few years, we are going to see a massive shift toward AI-integrated dental apps that use your phone’s camera to scan your brackets for ‘micro-loosening’ before you even feel a poke. We are already seeing cosmetic dentistry innovations to watch that focus on this kind of remote monitoring. For now, your best bet is to stay vigilant. My advanced tip for today? Go buy a pack of GUM Soft-Picks right now and keep them in your pocket. Having them on hand means you’ll actually use them after lunch, which keeps the area around that loose bracket clean and ready for the dentist to repair.
The Hardest Lesson I Learned About Orthodontic Panic
It took me three separate ’emergency’ clinic visits to realize that a loose bracket isn’t a dental catastrophe; it’s a rite of passage. If I had known then that the family dentistry guide building a lifetime of healthy smiles principles emphasize the long-term health of the enamel over the temporary position of a single bracket, I would have slept a lot better. Lesson one: Your teeth aren’t going to sprint back to their old positions overnight just because a handle came loose. Lesson two: The more you fiddle with the archwire without the proper tools, the more likely you are to need expert cosmetic dentistry solutions to fix micro-scratches or chips you caused yourself. I finally learned that patience and a little bit of wax are my most powerful tools.
My Private Arsenal for Braces and Beyond
To avoid that midnight panic, I recommend keeping three non-negotiables in your medicine cabinet: High-quality silicone wax (it stays put much better than the standard paraffin variety), a dedicated interdental kit, and a reliable water flosser. If you decide to go the water flosser route to keep the area around the loose bracket clean, make sure you learn how to stop your gums from hurting when you use a water flosser so you don’t aggravate any existing inflammation. These tools are the foundation for a healthy smile, and once your braces finally come off, you will find that mastering the best way to brush around a permanent retainer is the real secret to keeping those results perfect for decades. #IMAGE_PLACEHOLDER_E#
Keep Your Eyes on the Prize
Dealing with a loose bracket is undoubtedly annoying, but it is also a sign that you are doing the work to achieve a lifetime of confidence. Don’t let a small piece of sliding metal discourage you from the incredible progress you have made so far. Whether you are counting down the days until your final reveal or you are already planning your next aesthetic step with expert cosmetic dentistry solutions, remember that you are the one in control of your dental journey. You have the tools, the knowledge, and the wax to get through this weekend comfortably. What was the weirdest household item you almost reached for to fix your braces before finding this guide? Let me know in the comments below!